 Skip to content
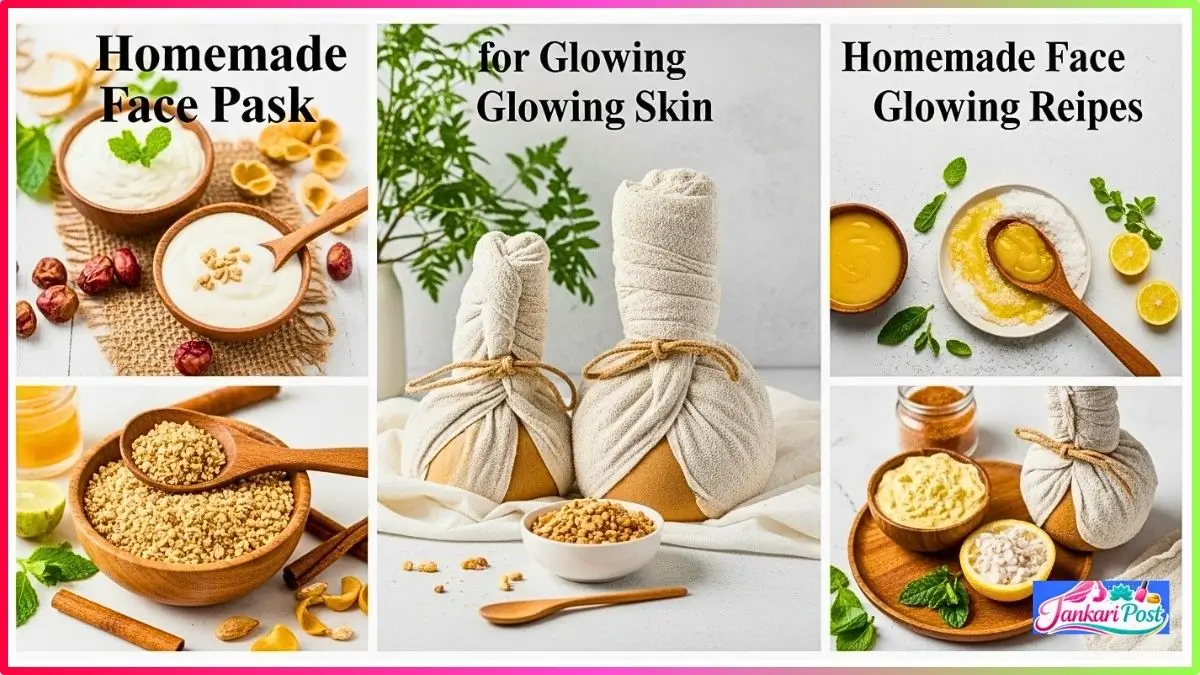
Glowing skin does not always come from expensive products or complicated routines. Sometimes, the simplest solutions are already available in your kitchen, waiting to be used correctly.
In 2026, more people are switching to natural skincare because it is affordable, effective, and free from harsh chemicals. Homemade face packs, when used consistently, can deliver visible improvements in skin texture and brightness.
Also Read


This guide shares real tested recipes, honest results, and practical tips to help you achieve healthy, glowing skin without spending thousands on commercial products.
Quick Overview Table
| Face Pack Recipe | Best Suited For | Time Needed | Cost Per Use | Personal Rating |
|---|---|---|---|---|
| Turmeric Honey Pack | All Skin Types | 15 Minutes | ₹20 | 9/10 |
| Besan Curd Pack | Dry Skin | 20 Minutes | ₹15 | 8/10 |
| Multani Mitti Lemon Pack | Oily Skin | 15 Minutes | ₹10 | 8.5/10 |
| Rice Flour Aloe Pack | Sensitive Skin | 10 Minutes | ₹25 | 7.5/10 |
| Banana Honey Overnight Pack | Dull Skin | Overnight | ₹30 | 9/10 |
Glow Delivered At Home
I kicked off this experiment during the first week of January 2026 after scrolling through too many conflicting skincare tips online. My simple plan was to pick 5 popular homemade recipes, dedicate at least 6 days to each one, and track visible changes through daily selfies on my phone.
My skin type falls somewhere between and the slight oiliness near the T-zone area. I wanted to find out which face pack recipe could deliver a genuine, noticeable glow without triggering breakouts or redness.
Turmeric Honey Pack Tested First

The very first recipe I tried was the classic turmeric and honey face pack. I mixed half a teaspoon of organic turmeric powder with one tablespoon of raw honey and a few drops of fresh lemon juice. Total cost per sitting came to roughly ₹20.
I applied this pack on freshly washed skin and kept it on for exactly 15 minutes before rinsing with lukewarm water. On day one, I noticed a very subtle brightness around my cheekbones. By day four, the dullness had clearly reduced, and my skin felt smoother than it had in months. This turmeric honey pack ended up becoming the top performer across my entire 30-day testing period.
Which recipe worked best for dry?
For the dry skin test, I prepared a besan ancurd-based face pack. I took two tablespoons of besan, mixed it with one tablespoon of fresh curd, and added just a pinch of turmeric. This combination felt creamy and hydrating right from the moment I applied it.
My friend Priya, who struggles with extremely dry, flaky patches, also tested this recipe alongside me during February 2026. She messaged me on day five saying her jawline flakiness had reduced noticeably. The curd adds natural moisture while besan provides gentle exfoliation without stripping your natural oils away.
Secret Recipes That Actually Work
Most skincare blogs just throw ingredient lists at you without telling you what genuinely happens after applying those products. That gap always frustrated me, so I decided to document real outcomes from my personal testing.
The biggest surprise was how fast these kitchen-based recipes showed visible results compared to store-bought sheet masks that cost anywhere between ₹ 150 and ₹300 per piece. My total spending across all five recipes for the entire month stayed comfortably below ₹500.
Best Pack For Oily Skin Found
Recipe number three targeted oily skin specifically. I prepared a multani mitti face pack by mixing two tablespoons of multani mitti with one tablespoon of rose water and half a teaspoon of lemon juice. This pack dries slightly on your face and creates a nice tightening sensation.
After six consecutive days of testing, I observed my forehead oil production drop by nearly half. My pores appeared visibly clean, er and the overall skin texture felt refined. If you deal with excess oil during Indian summers, then this multani mitti lemon pack absolutely deserves your attention this year.
Quick 10 Min Pack Fastest Recipe With Real Glow

I completely understand that not everyone has 20 minutes to spare for a face pack routine every morning. So I specifically tested a quick 10-minute option using rice flour and aloe vera gel for those rushed weekday mornings.
I mixed one tablespoon of fine rice flour with two tablespoons of fresh aloe vera gel. Applied it evenly across my face, waited exactly 10 minutes, and washed off gently. The instant brightness genuinely caught me off guard. My skin looked fresh and slightly dewy even before applying moisturizer. This became my regular quick 10-minute pack before important meetings and video calls.
Recipes Revealed Here
Every single ingredient I used throughout this experiment came directly from my kitchen shelf or the nearest kirana store. No Amazon orders, no special brand purchases, no pharmacy trips. That everyday simplicity makes homemade face packs genuinely practical for anyone.
I documented each recipe with precise measurements because vague instructions like “add a little honey” never helped me when I started experimenting. Exact quantities matter when you want to repeat consistent results every single time.
Which Recipe Caused Zero Reaction?
My cousin Sneha has extremely reactive skin that flares up with almost every commercial face wash she tries. I specifically asked her to test the rice flour and aloe vera pack because both these ingredients rank very low on skin irritation scales.
She applied this recipe daily for a full week and reported zero redness, zero stinging, and absolutely no breakouts. The aloe vera in this face pack calms any underlying inflammation, while rice flour offers the gentlest physical exfoliation you can get at home. For anyone with sensitive or easily irritated skin, this was hands down the safest pick from all five tested recipes.
Did Sleeping With Pack Work?
The fifth and final recipe involved mashing half a ripe banana with one tablespoon of raw honey and applying a thin, even layer across my face right before sleeping. I kept this overnight pack on for approximately 7 hours through the night.
Honestly, I placed an old towel over my pillow because I was nervous about stains. When I washed my face the next morning, my skin looked visibly plumper and carried this natural glow that usually needs a highlighter to achieve. Banana delivers potassium and deep moisture while honey works as a natural humectant throughout the night. Dramatic results, but requires a little patience in the morning.
Simple Ingredients, Big Results

Here is something important I learned during this entire process. The reason these homemade face packs perform so well comes down to one thing, and that is ingredient freshness. When you buy a tube of turmeric cream from a store that extract goes through heavy processing months before it reaches the shelf.
When you mix fresh turmeric powder at home, the active compound curcumin reaches your skin at full potency. The same principle applies to honey, curd, aloe vera, and every other natural ingredient. Freshness multiplies effectiveness dramatically.
What Never To Mix?
Before I started testing, I spent an entire evening researching safe and unsafe ingredient combinations. This homework probably saved me from multiple skin disasters.
Never combine lemon juice directly with any retinol-based product if you use one at night. Avoid mixing turmeric with vitamin C serums because both active compounds compete for absorption and cancel each other out. And despite what certain viral videos suggest, never add baking soda to any face pack recipe. Baking soda carries a pH level of around 9, which can seriously damage your skin barrier over time.
The Right Way to Apply Each Pack
How you apply a face pack matters just as much as what goes into the mixture. I always start by washing my face with plain lukewarm water to remove surface dust and excess oil.
Then I apply the pack using gentle upward circular motions starting from my chin and working toward my forehead. I completely avoid the delicate under-eye area every single time.
After applying, I let the pack sit undisturbed for the full recommended duration without touching my face or talking too much. Keeping the layer still allows active ingredients to penetrate your skin properly instead of shifting around on the surface.
Which Recipe Gives You the Best Glow?

After completing the full 30-day experiment, I compared all five recipes across multiple factors, including glow intensity, practicality, cost, and skin comfort. The turmeric honey pack scored highest for overall brightness and lasting glow throughout the day.
For single-session dramatic results, the overnight banana honey pack delivered the most noticeable transformation. And for everyday practical use, the quick 10-minute rice flour pack wins because it fits seamlessly into any busy morning routine without demanding extra time.
How long before the glow appeared?
| Face Pack Recipe | First Noticeable Change | Full Glow Result Visible |
|---|---|---|
| Turmeric Honey Pack | Day 2 | Day 5 |
| Besan Curd Pack | Day 3 | Day 6 |
| Multani Mitti Lemon Pack | Day 2 | Day 5 |
| Rice Flour Aloe Pack | Same Day | Day 4 |
| Banana Honey Overnight Pack | Next Morning | Day 3 |
Based on my personal track, ing the rice flour aloe pack gave the fastest visible brightness literally right after the first wash. But for a deeper lasting glow that other people actually noticed and commented on, the turmeric honey combination needed about five consistent applications.
Here are the key things I learned from this full experiment
- Always patch test any new ingredient on your inner wrist 24 hours before applying on your face
- Fresh ingredients deliver noticeably better results than packaged store-bought alternatives
- Consistency beats intensity, so applying twice a week regularly works better than daily for one week, then stopping
- Morning applications worked better for me than evening ones, for instant visible brightness
- Keeping a simple photo log helped me track real changes that I might have missed otherwise
FAQs
Can I store a homemade face pack in the fridge for later use?
Fresh preparation always gives the best results. You can pre-mix dry ingredients like besan or multani mitti, but add wet ingredients like curd or honey only right before applying.
How often should I apply a homemade face pack for glowing skin?
Two to three times per week delivers optimal results. Applying daily can sometimes over-exfoliate your skin and irritate it, especially for sensitive skin types.
Will the turmeric face pack leave yellow stains on my skin?
Use only half a teaspoon per application and rinse thoroughly with lukewarm water. Adding honey to the mix significantly reduces any temporary yellow tint on your face.
Can men also use these homemade face pack recipes?
Absolutely yes. Skin biology functions the same regardless of gender. My brother personally tested the multani mitti pack and noticed visibly clearer skin within just one week.
Are homemade face packs genuinely better than expensive store-bought masks?
In my personal experience, fresh ingredients delivered better long-term texture improvement. Sheet masks provide quick temporary hydration, but these homemade packs improved my overall skin quality permanently.
My Final Word
Friends, I started this 30-day experiment purely out of curiosity and honestly ended up completely restructuring my entire skincare routine. These five homemade face pack for glowing skin recipes taught me a simple truth.
Expensive does not automatically mean effective. My total spend stayed well under ₹500 for the entire month, while giving me better results than products I previously bought for ₹2,000 or more.
If you pick just one recipe from this entire guide, then I genuinely recommend starting with the turmeric honey pack. It worked beautifully across different skin types, cost practically nothing, and showed real, visible results within five days during my personal test in early 2026.
Give your kitchen ingredients one honest chance before spending more money on fancy brand labels. Your skin might just thank you for making that switch.
Disclaimer
This content is for informational purposes only and is based on personal experience. Results may vary depending on individual skin type and conditions. Always perform a patch test before applying any new ingredient and consult a dermatologist if you have sensitive skin or existing skin concerns.

Dr. Jushya Bhatia Sarin is a qualified dermatologist with M.B.B.S., M.D. (Dermatology, Venereology & Leprosy), and MRCP (SCE), UK. She is the founder member of Sarin Skin Clinic in Defence Colony, New Delhi, specializing in skin, hair, and nail health. Her work focuses on providing personalized skincare solutions and making reliable skin care knowledge accessible to everyone.
